I started making hair bows for my daughter a couple of years ago, b/c frankly the ones in stores are flimsy, expensive and never seem to match her outfits. At first I was only making them for her and honestly they weren't that great. After a million YouTube tutorial videos and hundreds (or what seemed like hundreds to my husband) of hours on Pinterest...I've started making super cute bows & flip-flops! After much encouragement from the hubb's, I started a page on Facebook for selling my bows! I've had quite a few orders and tons of compliments! Of course, my daughter gets tons of compliments on her bows and all her friends want me to make them bows. Its so cute!
Monday, June 3, 2013
Thursday, May 23, 2013
Bzzagent
Has anyone heard of Bzzagent.com? If not, you're completely missing out! It's a Word of mouth company that is free to join. You fill out several surveys about your life, shopping habits, etc and then when a product "campaign" opens up and you meet whatever criteria there is, you get an invite to try out products FOR FREE, in exchange for HONEST feedback about the product. I've only been a bzzagent for about 6 months and have already had several campaigns. I did a Quaker Oatmeal, a Children's Claritin, a Pennington Smart feed fertilizer, Amdro weed and pest spray and a Got2b volumizing powder campaign. I'm currently awaiting a Dr. School's campaign to be mailed out. Its awesome! They send you FULL sized products to try out and coupons & samples to share with family & friends. Go check out bzzagent.com you won't be disappointed!
Wednesday, January 9, 2013
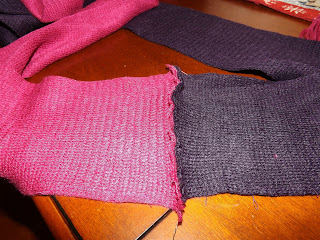
DIY Dollar Store Bow Scarf
Check out this SUPER CUTE bow scarf I made out of 2 DOLLAR STORE scarves!

I initially wanted to make it ONE solid color...but I didn't have 2 of the same color scarves....plus my daughter loves mis-matched EVERYTHING..so I figured what the heck! I got the idea from this website.... www.rufflesandstuff.com (which I found on Pinterest...do you people see a recurring addiction of mine? LOL). Here is my qick recap on how I did it!
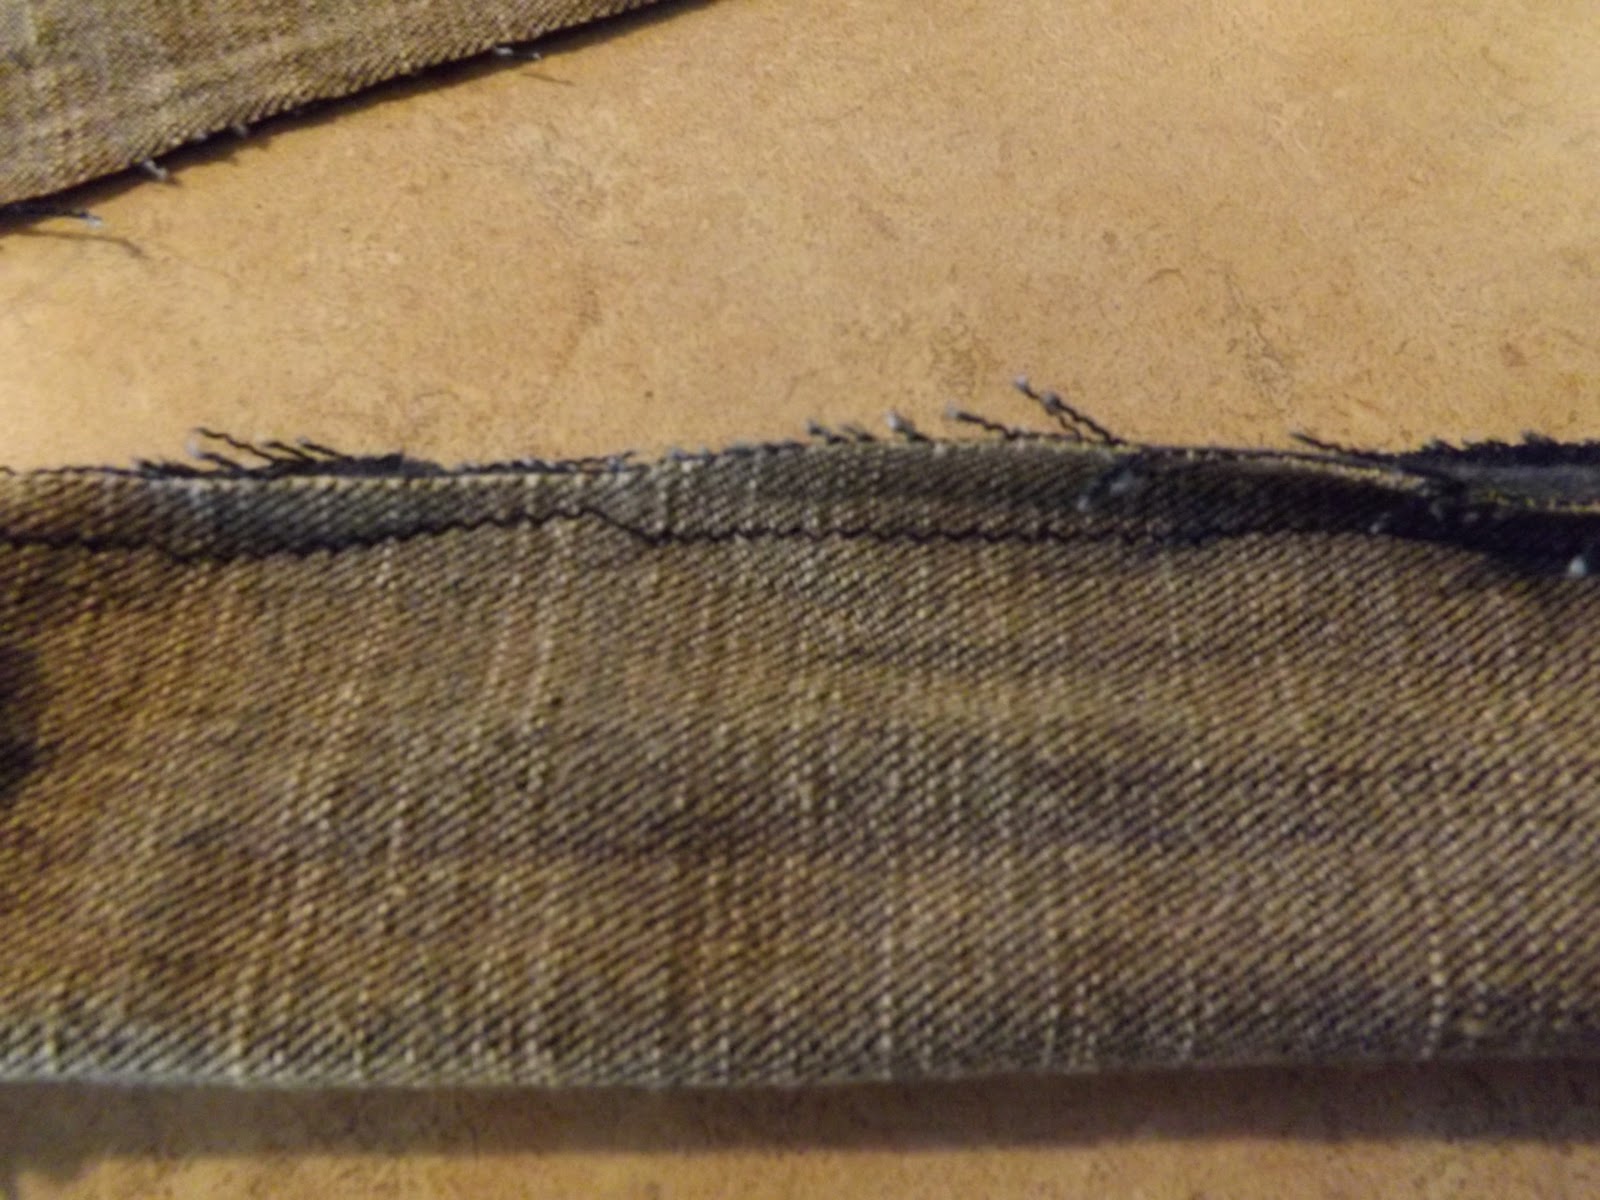
Step 1: Cut the fringe off ONE end of both scarves....KEEP the fringe you are going to need it later!


Step 3: Sew the ends together...either by hand or using your sewing machine..I used my machine!
Step 4: Make 3 LOOPS on each side of the scarves...make sure they are as even as possible. (after i finished sewing my loops..i realized that i should have started at the bottom of the scarves b/c by the seam in the back.i have 2 bows..that aren't really that nice..but it still turned out ok) Each side should look something like this...Just pin right above where you want to sew the loop.


I initially wanted to make it ONE solid color...but I didn't have 2 of the same color scarves....plus my daughter loves mis-matched EVERYTHING..so I figured what the heck! I got the idea from this website.... www.rufflesandstuff.com (which I found on Pinterest...do you people see a recurring addiction of mine? LOL). Here is my qick recap on how I did it!
Step 1: Cut the fringe off ONE end of both scarves....KEEP the fringe you are going to need it later!

Step 2: Line up the fringe-less ends and pin together!

Step 3: Sew the ends together...either by hand or using your sewing machine..I used my machine!

Step 4: Make 3 LOOPS on each side of the scarves...make sure they are as even as possible. (after i finished sewing my loops..i realized that i should have started at the bottom of the scarves b/c by the seam in the back.i have 2 bows..that aren't really that nice..but it still turned out ok) Each side should look something like this...Just pin right above where you want to sew the loop.
Step 5: Sew your loops...i used my machine again..but it might be easier to do by hand. The loops will look something like this when finished:
Step 6: Take each loop and lay it open flat over the seam you just sewed....then pinch and fold to make a bow shape. Then take ribbon and wrap around the middle to secure the bow shape...Your bows should look something like this..make sure each side is even on the bow....

Step 7: Take the fringe you cut off in the beginning and wrap around the center of the bow to cover the ribbon. you can use Hot Glue to secure it in the back..or just tie a knot and trim the excess off...i used pink fringe on the purple bows and purple on the pink...

The finished scarf should look a little like this...even though it's mismatched i think it came out super cute! I will definately be hitting up the Dollar Store to get more scarves so I can make a few more of these cuties!

Try it out and let me know how it worked out for you!
Sunday, January 6, 2013
DIY Jean Bag
Today I finally went up into the attic and dug out my sewing machine. It's been in hibernation for quite a few years. Since I have come across so many sewing projects and tutorials, I figured it was time to try my hand at it. It took me 25 minutes and a youtube video just to get the darn thing threaded....it was horrible. After that ordeal I needed a no-brainer beginner sewing project. So I decided to take a pair of my daughter's old jeans and turn them into a cute little bag. Here is how:
Step 1: Take an old pair of jeans, needle and thread (or a sewing machine) and a pair of sharp scissors...I used these Children's Place jeans:

Step 2: Fold the jeans pocket to pocket and cut just above the crotch area..so it's one solid tube.

Step 3: while the pants are inside out, use straight pins to pin the edges together just above where you want the seam...Get ready, set...SEW the bottom raw edge together. TIP: after sewing I realized that I didn't pay attention to the back pockets and i wound up making the seam to high...so when i turned it right side out....some of the pocket doesn't show. no biggie...but just something I would do different next time.

Step 4: Turn your bag right side out....this is what it will look like.

Step 5: Cut the Hem and the side seams off of ONE pant leg. You should have 2 pieces that look something like this:

Step 6: Now to make the straps or handles....take one piece at a time and fold in half...and pin w/straight pins. Make sure the rightsides are touching each other (meaning..you will have to turn it right side out after sewing)....sew the raw edges together...you should have 2 pieces like this:
Step 7: Turn them right side out

Step 8: Attach the handles to the bag....This step I had to hand sew...my machine is just a basic model and isn't heavy duty....after attaching them...your bag should look like this:

Here is my daughter wearing the bag....I still want to add some glitter and bling to it...but she couldn't wait...
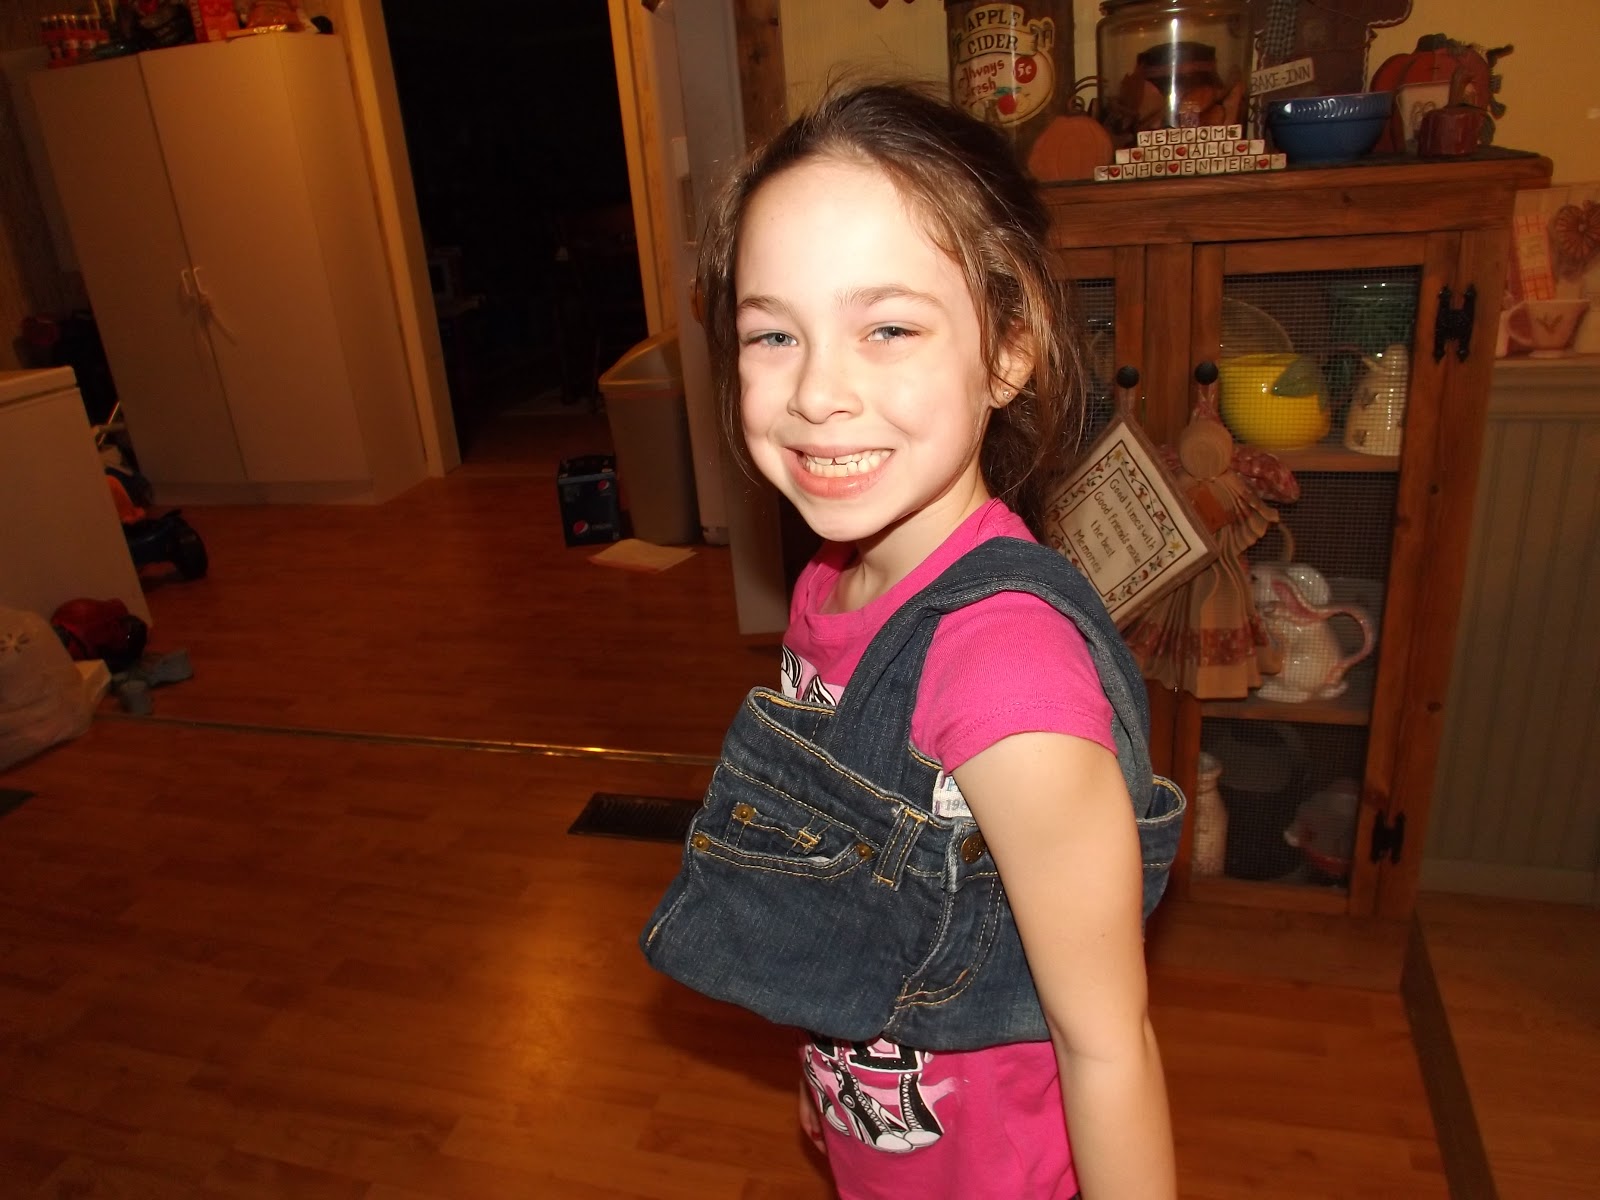
There are some things I would do different the next time around..but all in all it was pretty successful for my first attempt....
Friday, January 4, 2013
DIY Fringe Scarf
I finally decided to repurpose some of my grungy t-shirts. I've been saving them for an unknown purpose for quite awhile....so while surfing....(you guessed it)...PINTEREST..i came across a tutorial on this blog (www.lakelandlocal.com). It was SUPER easy...took about 5 minutes to complete....definately going to make a few more!! Here is how I did it:
Step 1: Grab your supplies: 1 large t-shirt and a pair of sharp scissors.


Step 1: Grab your supplies: 1 large t-shirt and a pair of sharp scissors.

Step 2: Cut right underneath the arms holes to make one rectangle "tube."

Step 3: Cut strips up towards the raw edge..about 1 in strips.

Step 4: Pull the pieces to stretch them a little.

Step 5: Wear.....I used the neck form I got for Christmas....totally cute! Can't wait to wear it out!

Wednesday, January 2, 2013
Welcome!
Happy New Year's! It's January 2nd, my 6 year old is back in school and it's just my 2 yr old and I once again...hanging at home. In December my kids and I did a "Crafty Christmas Countdown"...it was HUGE hit! Even my friends on Facebook thought it was great. I had many comments on how "crafty" I was...(thanks PINTEREST...lol). So it got me to thinking....why not start a blog of all my craftiness? If my friends think i'm crafty..then maybe total strangers will...I know weird, right? Anyway, one of my hopes this year is to get more in touch with my craftiness...i have sooo many crafting supplies that it's time to put them to good use! So check back often and hopefully my kids will allow me to get my craft on, so I can share it with everyone! Here is to a "Crafty New Year!"
Subscribe to:
Posts (Atom)